
Welcome to Creativity Abounds Blog Hop. We are a group of very keen Stampin’ Up!® Demonstrators from all around the world that are coming together to share our creative ideas with you. We are happy that you can join us and hope that we can Inspire you to make creations of your own.
Fancy Flora Suite Collection
I am really enjoying playing with this suite, I put of buying it for a little while, until I worked out what I was wanting……In the end I just had to get it, I love the flowers and the Designer Series Paper is stunning. There is so much in this suite it is totally worth the extra cost. There are 2 Bundles of Stamps and coordinating dies. But don’t feel you have to purchase the lot you can purchase just what you want.
** Remember you get a 10% off when you purchase the Bundles – Two-Tone Flora Bundle and Something Fancy Bundle

What is in the Collection..
- Two-Tone Flora Bundle – the beautiful floral stamps and dies Photopolymer
- Something Fancy Bundle – Sentiment stamps and Frame Dies, these are wonderful for cutting out your sentiments
- Fancy Flora 6 x 6″ Designer Series Paper – Painted style paper, colours are stunning See how these papers were created HERE (hope this link works…LOL on FB)
- Fine Shimmer 12 x 12 Paper Pack
- Pool Party Grosgrain Ribbon 1cm wide
- Iridescent Pastel Gems
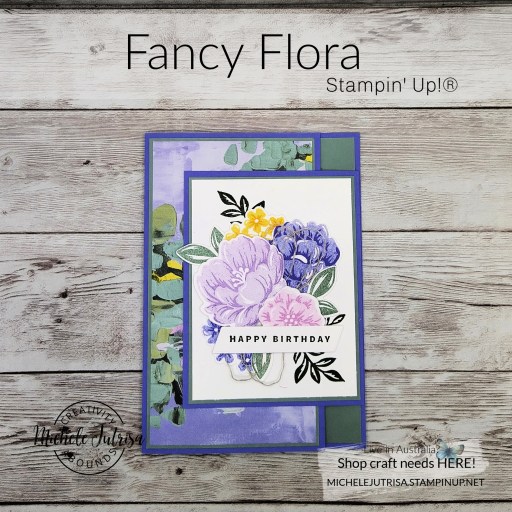
My Card – Fancy Flora Fun Fold
This is a 3 Fold Card, where the left side folds in first and then the left over the top. This card has two card fronts and I needed to show off this DSP, i just love all these colours.

This is a two step stamp and I found it easier to stamp the detailed image first and then using the same colour and the second image, stamp off onto a scrap of paper before stamping the rest of the flower. I used the centers of the flowers (stamen) as my guide for lining yp the images.

You may be starting here or have come from someone else’s blog – either way there is a list at the end of this post to help you move around all the different blogs and get many amazing ideas. We all have our country listed – so if you are looking for a demonstrator in your country, these demonstrators would love to look after you with your Stampin’ Up! ® shopping or if you would like to join our Stampin’ Up!® teams.
Follow the Hop here..
For More Inspiration we have our new Tutorial Bundle
Meet the Design Team of Creativity Abounds..

Stampin’ Up! Product Used in today’s project
Product List")


Mini Catalogue 5 Jan – 1 May 2023

Join My Team
If you have been sitting on the fence not sure if you should JOIN the Stampin’ Up! Family or not….well now is the time to jump down and JOIN.
If you enjoyed this post, please be sure to . . .


")


")


")


")


")

")
")

 Cardstock")


")


")


